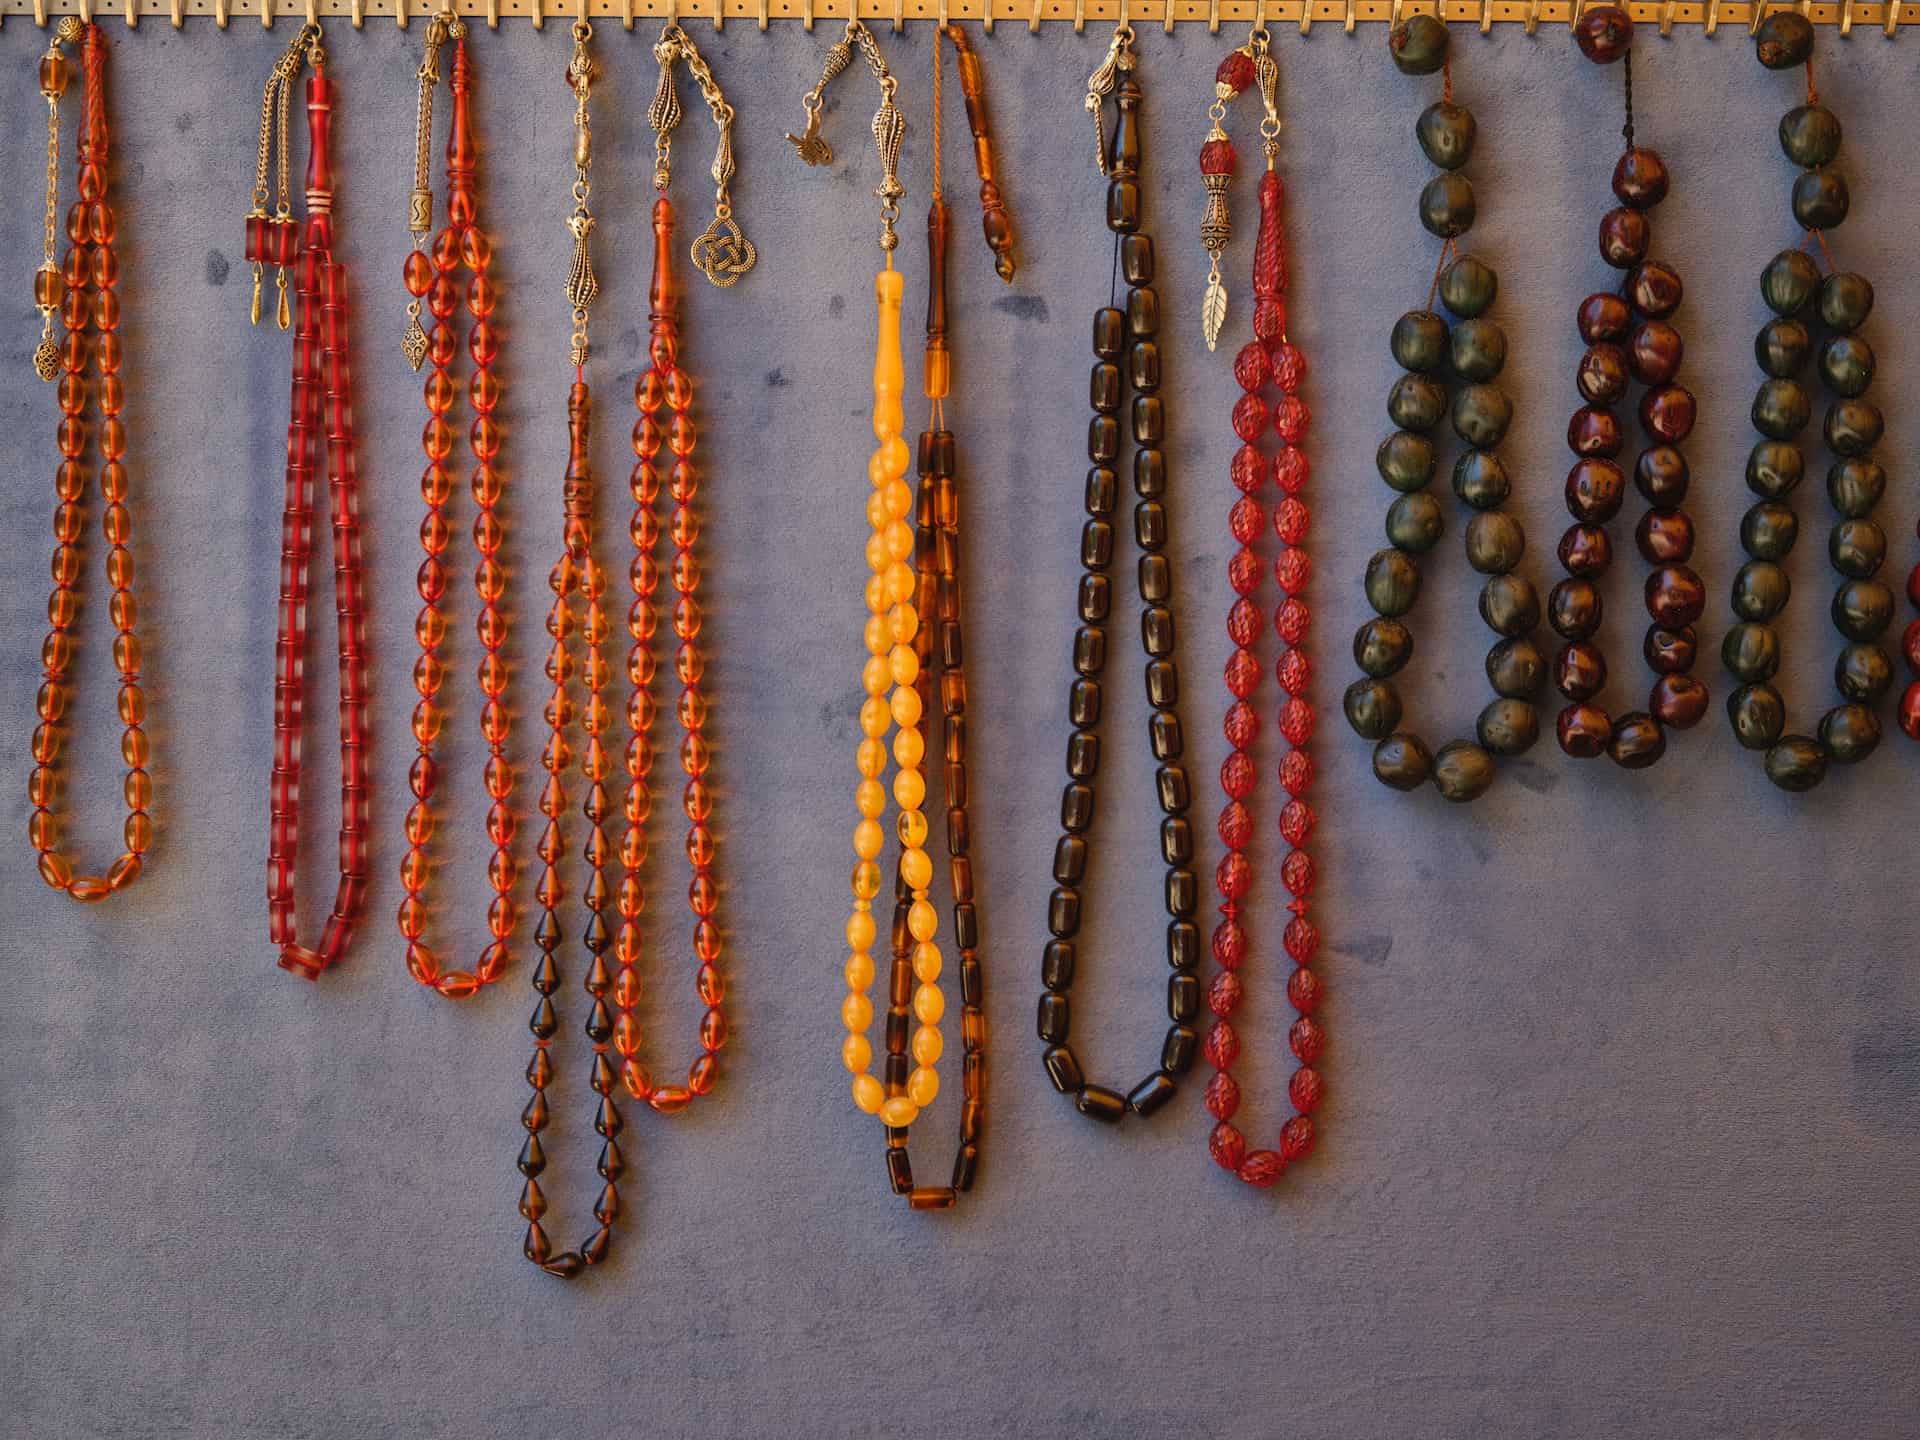
Beaded necklaces are not only beautiful accessories but also a reflection of personal style and creativity. Learning to make bead necklace patterns allows you to unleash your artistic potential and express yourself through wearable art. In this guide, we will explore the process of preparing and creating bead necklace patterns, providing you with the necessary knowledge and skills to embark on this delightful journey.
Before diving into the world of bead necklace patterns, it’s important to gather the essential tools and materials.
a) Beads: Choose beads that match your design vision. Consider factors such as color, size, shape, and material.
b) Stringing Material: Nylon thread, beading wire, or stretch cord are popular choices for stringing beads. Select the appropriate material based on the weight and durability required for your design.
c) Findings: Clasps, jump rings, and crimp beads are essential for securing your necklace. Ensure you have a variety of findings that complement your chosen beads and design.
d) Tools: Invest in a good set of jewelry-making tools, including wire cutters, crimping pliers, and round-nose pliers. These will help you manipulate the materials with precision.
Creating bead necklace patterns requires a clean and organized workspace. Set up a designated area with good lighting and sufficient space for your materials. Use a bead mat or tray to prevent beads from rolling away. Keep your tools within reach and maintain a clutter-free environment to enhance your concentration and productivity.
Now comes the exciting part designing your bead necklace pattern. Start by sketching your design on paper or using digital design software. Consider the color scheme, placement of beads, and any patterns or motifs you wish to incorporate. Experiment with different arrangements until you find a design that resonates with your vision.
Once you have your design ready, it’s time to bring it to life by stringing the beads. Follow these steps for a successful stringing process:
a) Measure and Cut: Determine the desired length of your necklace and add a few extra inches for clasps. Carefully cut your chosen stringing material to the appropriate length.
b) Secure the Clasp: Begin by attaching one end of the clasp to the stringing material. Use a crimp bead or knot to secure it in place.
c) Bead Placement: Start stringing your beads according to the pattern you’ve designed. Use a needle or the aid of a bead spinner for ease of threading.
d) Maintain Consistency: Pay attention to the tension and spacing between beads to ensure a consistent look throughout the necklace.
e) Finishing Touches: Once you’ve strung all the beads, secure the other end of the clasp using a crimp bead or knot. Trim any excess stringing material.
Learning to make bead necklace patterns is a rewarding and enjoyable endeavor. By following the steps outlined in this guide, you’ll be equipped with the necessary knowledge and skills to create stunning and unique bead necklaces. Embrace your creativity, experiment with different techniques, and let your imagination run wild in this captivating art form. Happy beading!
Main photo: engin akyurt/unsplash.com
Sponsored text